How to Make a Easy Robot Step by Step
How to Make a Easy Robot That Moves
Every day, people are looking for new hobbies. There are so many things to do in the world, but it can be hard to find something that you know you will enjoy. Robotics is a fun hobby that anyone can get into.

It's not too tricky, and there are many robot kits available on the market today. With this blog post, we hope to show you how to make a easy robot that moves! So if you're interested in doing this exciting project, then read on!
What Items and Supplies You'll Need:
- Screwdriver (to take apart toy)
- Soldering Iron (if you want to solder wires)
- Wire cutters (to strip the insulation off the wire)
- Hot glue gun (or any other type of glue)
- Thin wire
- Duct Tape
Step by Step Guide: How to Make a Easy Robot That Moves
Step 1:
Take apart the toy. To take apart the toy you will need a screwdriver and wire cutters. After you have taken apart the toy, strip off all of the insulation from both wires for a distance of about an inch.
Step 2:
Take out the motor and chip (if there is one) from inside the toy. You will need a screwdriver or flat head screwdriver to pry open the case to take these items out. Next, you will need wire cutters to strip the insulation off of both ends of each wire. You should have two wires that are now stripped- one for each motor.
Step 3:
Now, take out the circuit board, which is located between where the motors were and where the batteries go. This part may be hard to take out and may require a hot glue gun and screwdriver. After removing the circuit board, strip off about half an inch of insulation on each wire so you can solder onto them later. Then take out the batteries.

Step 4:
Solder two wires to each side of the circuit board where the batteries were connected before. If you are using a hot glue gun to take out the circuit board, it is a good idea to have a hot glue gun with you so you can secure the solder points.
Step 5:
Unroll both wires from one motor and twist them together, making sure there are no pieces of insulation touching each other. Repeat this step with the other wire. Next, twist together all of the wires connected to the circuit board, but twist one wire (the one attached to the longer end) with two different strands of insulation together before turning it with another wire.
Step 6:
Tape down all exposed metals, so they do not touch each other and cause a short circuit. This includes the metal on both sides of the circuit board, all exposed motor wires, and the two wires that are twisted together.
Step 7:
Tape the battery pack to the toy (since there is no other way to attach it to your robot). Make sure you pull out each battery without too much force since it will be touching the metal taped to the toy.
Step 8:
Now you are ready for your robot! If you decide to make a different kind of robot, there are many different ways to do it, so be creative! For example, you can add a small motor in between the circuit board and the motors to power your robot or add more than one motor.
Things to Consider When Making a Robot:
You should consider some things when deciding how to attach your circuit board and batteries to the rest of the toy. First, the weight of the circuit board and batteries will be a significant factor in how much your toy can lift. Second, plastic toys are not strong enough to withstand a lot of force, so if you make a giant robot, it may break if it holds anything heavy.
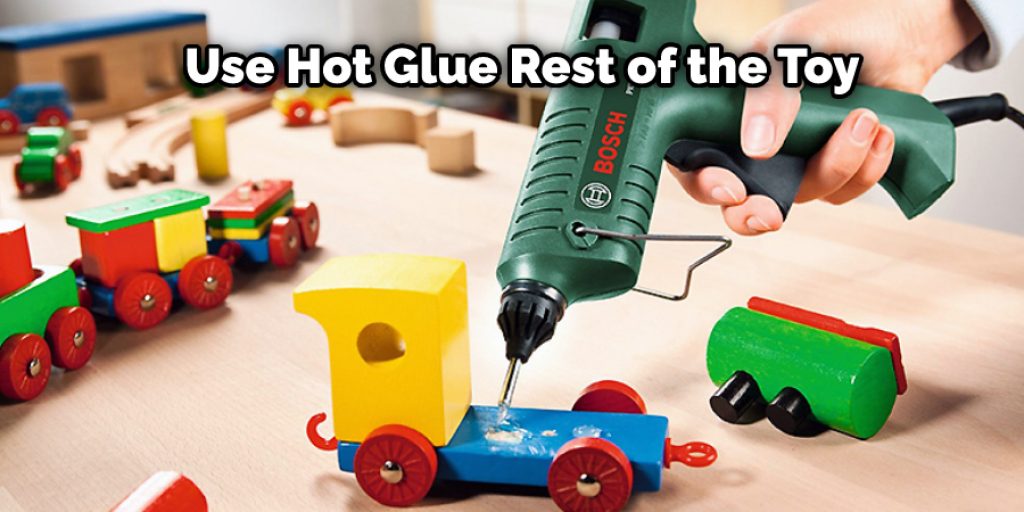
1. You can use hot glue or epoxy to attach the circuit board and batteries to the rest of the toy.
2. If you want to make your robot mobile, attach small wheels with screws or a hot glue gun to the bottom of each foot so that it can move around on hard surfaces.
3. You can also attach rubber feet using hot glue or epoxy if you want your robot to be able to move around on carpet or plastic.
4. If you are planning to move your robot's arms, you need to attach servo motors to each component with screws so that your robot can move them back and forth.
5. You also need a method of rotating the head if it is separate from the rest of the body: either use a servo motor or attach a dowel to the neckpiece with screws to pivot from side to side.
Some Tips and Tricks:
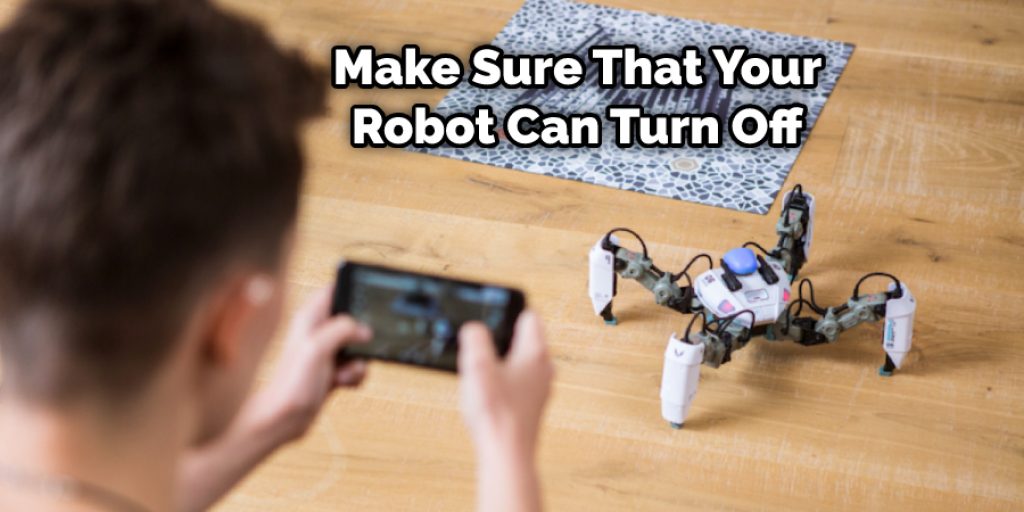
1. Do not connect the battery to the robot yet. Make sure you have a way to turn it off before you test your first connection because if you do not know how to turn it off, that's a big problem!
2. Start with a rough layout of what pieces will go where and use a hot glue gun or any other adhesive to put it together. This will be much easier than trying to do anything else and potentially ruined if you use screws or nails.
3. Make sure that your robot can turn off and on easily and quickly; otherwise, your batteries will die, and it won't be fun for anyone involved.
4. After you are done with the basics, you can add gadgets to your robot. This can be a fun time for little kids who want to see how things work, but it is also excellent for adults because they can get creative and make something that worked out well or not so well at all.
5. Make sure the battery is off when putting the lid back on the battery. This way, you won't have any accidents.
6. Make sure that the lid snaps on without too much pressure so that if someone bumps into it, they don't break anything!
Final Thoughts:
You can find a lot of resources to make robots on the internet. However, when it comes down to it, you need three things-a motor, wheels, and an Arduino controller board. With all these parts in place, your robot will be ready for more advanced programming with computer languages like Python or Java that allow smoother movement and interaction among different objects and sensors.
Once you've mastered this step, there is no limit to what your robotic creations could do! We hope this post has helped you learn how to make a easy robot that moves! Let us know your thoughts in the comments below!
thomasnosinden1984.blogspot.com
Source: https://diyquickly.com/how-to-make-a-easy-robot-that-moves/


Postar um comentário for "How to Make a Easy Robot Step by Step"